


Blog
How to Set Up Your Camping Tent Like a Pro: Tips and Tricks
Embarking on a camping adventure in South Africa’s breathtaking landscapes, from the lush expanses of the Garden Route to the rugged terrains of the Drakensberg, requires a fundamental skill every outdoor enthusiast should master: setting up a camping tent. Whether you’re planning to gaze at the star-studded skies in the Cederberg or listen to the soothing sounds of the ocean at the Tsitsikamma National Park, knowing how to efficiently and effectively erect your temporary home is essential. This guide is crafted with the South African market of campers in mind, offering step-by-step instructions, from selecting the ideal campsite to mastering the art of tent setup.
Preparation Before You Leave
Embarking on a camping adventure in the stunning landscapes of South Africa requires not just enthusiasm and a love for the outdoors, but also thorough preparation. The foundation of a memorable camping experience is your tent, your shelter against the elements and your cozy retreat after a day of exploration. Here’s how to ensure you’re well-prepared before you leave home.
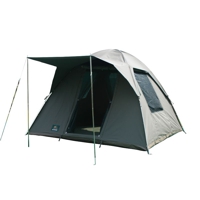
Choosing the Right Camping Tent
- Size: The size of your tent is crucial. Consider the number of people who will be sleeping in the tent and whether you need extra space for gear, pets, or additional comfort. A good rule of thumb is to choose a tent capacity rated for two more people than you plan to accommodate. This extra space ensures you won’t be cramped and will have room for your belongings.
- Seasonality: South Africa’s diverse climates demand careful consideration of your tent’s seasonality. A 3-season tent is suitable for most conditions, designed to handle the mild weather of spring, summer, and fall, providing ventilation and protection from rain. However, if you plan to camp in areas like the Drakensberg during winter, a 4-season tent is advisable for its enhanced durability and ability to withstand heavier snow and winds.
- Ease of Setup: Your camping experience can be significantly influenced by how easily you can set up your tent. Look for tents with features that simplify the process, such as color-coded poles, freestanding designs, and easy-to-follow instructions. Testing the setup at home before your trip can save time and reduce stress upon arrival at your campsite.
Step-by-Step Guide to Setting Up Your Tent
Successfully setting up your camping tent is akin to building your home away from home in the heart of South Africa’s wilderness. Follow this step-by-step guide to ensure your shelter is secure, comfortable, and ready to protect you from the elements.
Unpacking and Organizing
- Find a Clear Space: Begin by clearing the area of sharp objects, rocks, and branches. This ensures the longevity of your tent and a comfortable sleeping area.
- Unpack Your Tent: Carefully remove your tent and its components from the bag. Lay out all parts, including stakes, poles, and the rainfly, to ensure nothing is missing or damaged.
- Organize: Group similar items together. For instance, place all poles, stakes, and the rainfly in separate piles. This organization will streamline the setup process.
Laying the Groundwork
- Position the Tent: Spread the tent on the cleared ground, positioning it with the door facing the desired direction. Consider the wind direction and sunrise when choosing orientation.
- Secure the Footprint: If using a ground cloth or footprint, lay it under the tent. Ensure it’s slightly smaller than the tent’s base to prevent water from collecting between the footprint and tent.
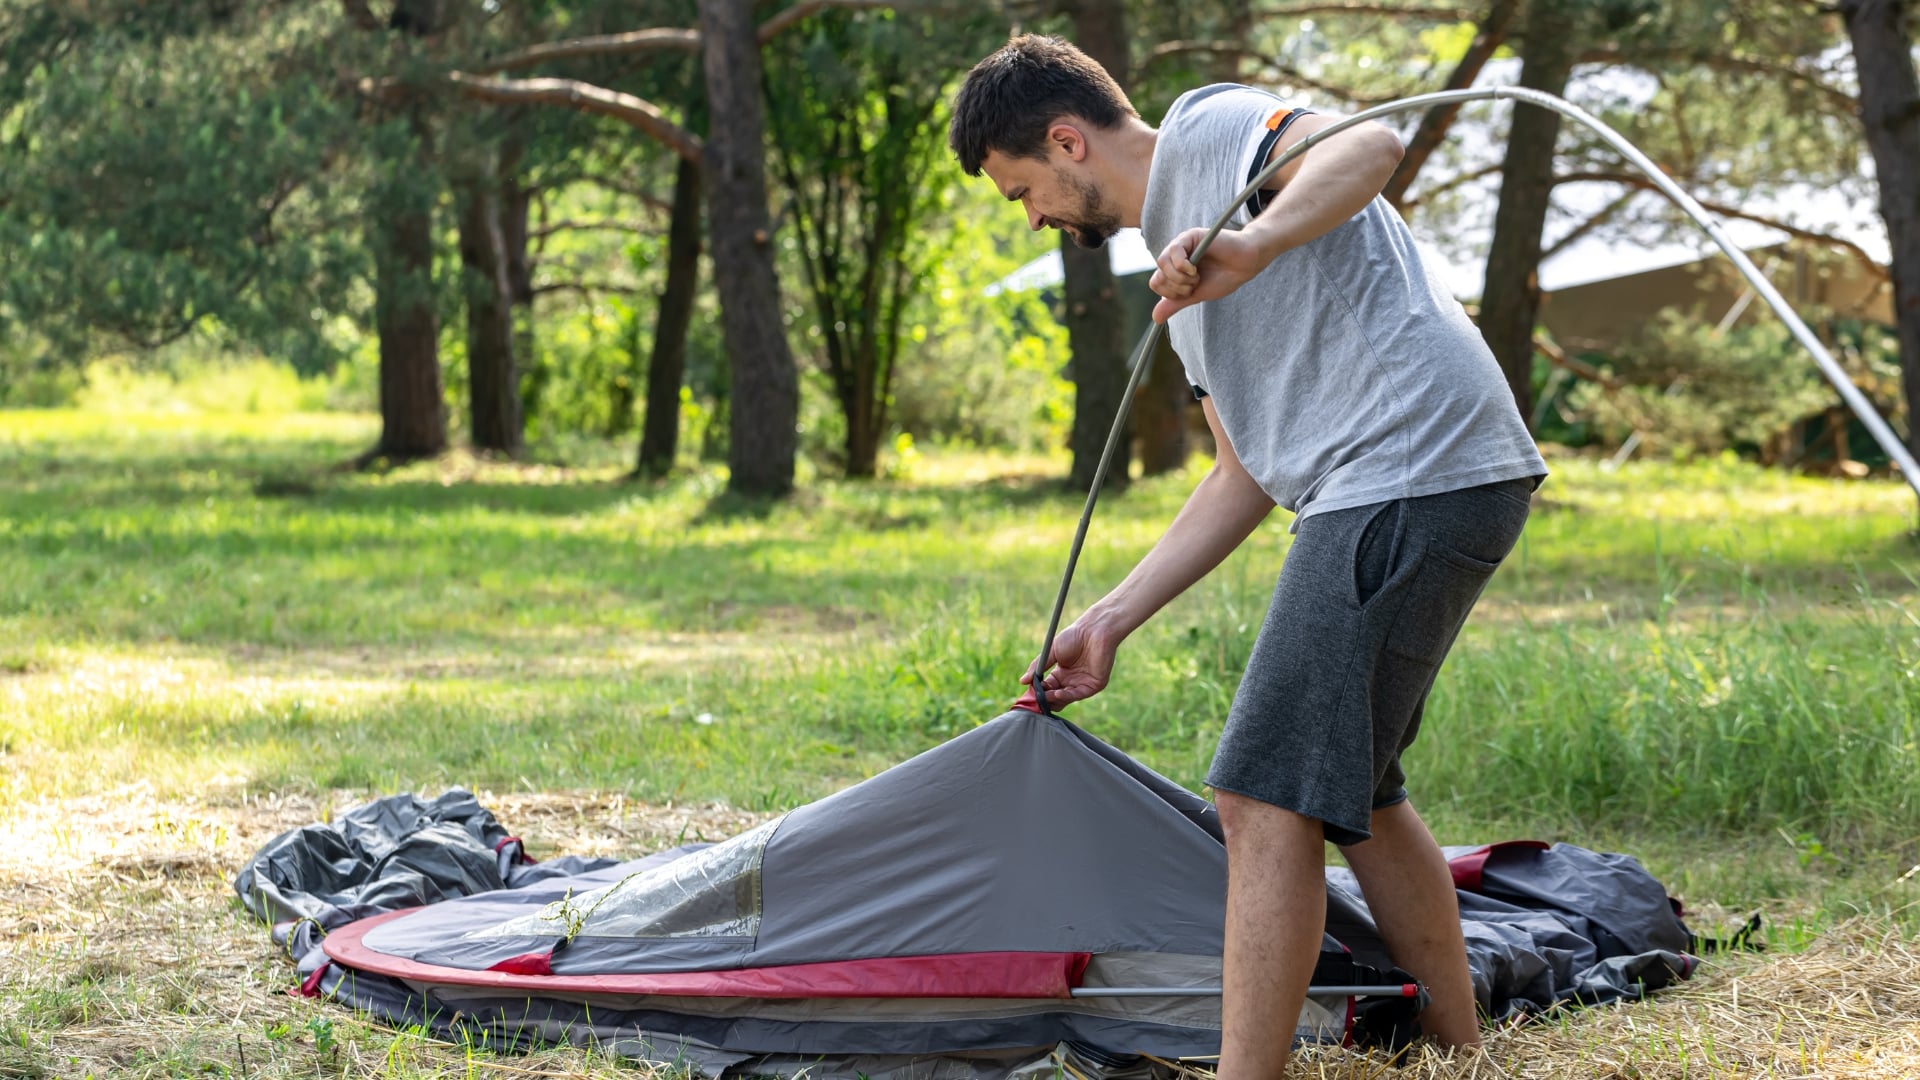
Assembling the Tent
- Assemble Poles: Connect the segments of the tent poles, usually designed to snap together with elastic cords running through the center.
- Insert Poles into Tent: Depending on your tent type, you may need to slide poles through sleeves on the tent’s exterior or clip the tent fabric to the poles. This step gives your tent its structure.
- Raise the Tent: Lift the tent by the poles, often requiring two people for larger tents. Arrange the poles in their designated spots to form the tent’s skeleton.
- Secure the Tent Body: Once the tent structure is in place, secure the tent’s corners to the poles, often through hooks or clips, ensuring the tent is taut and properly shaped.
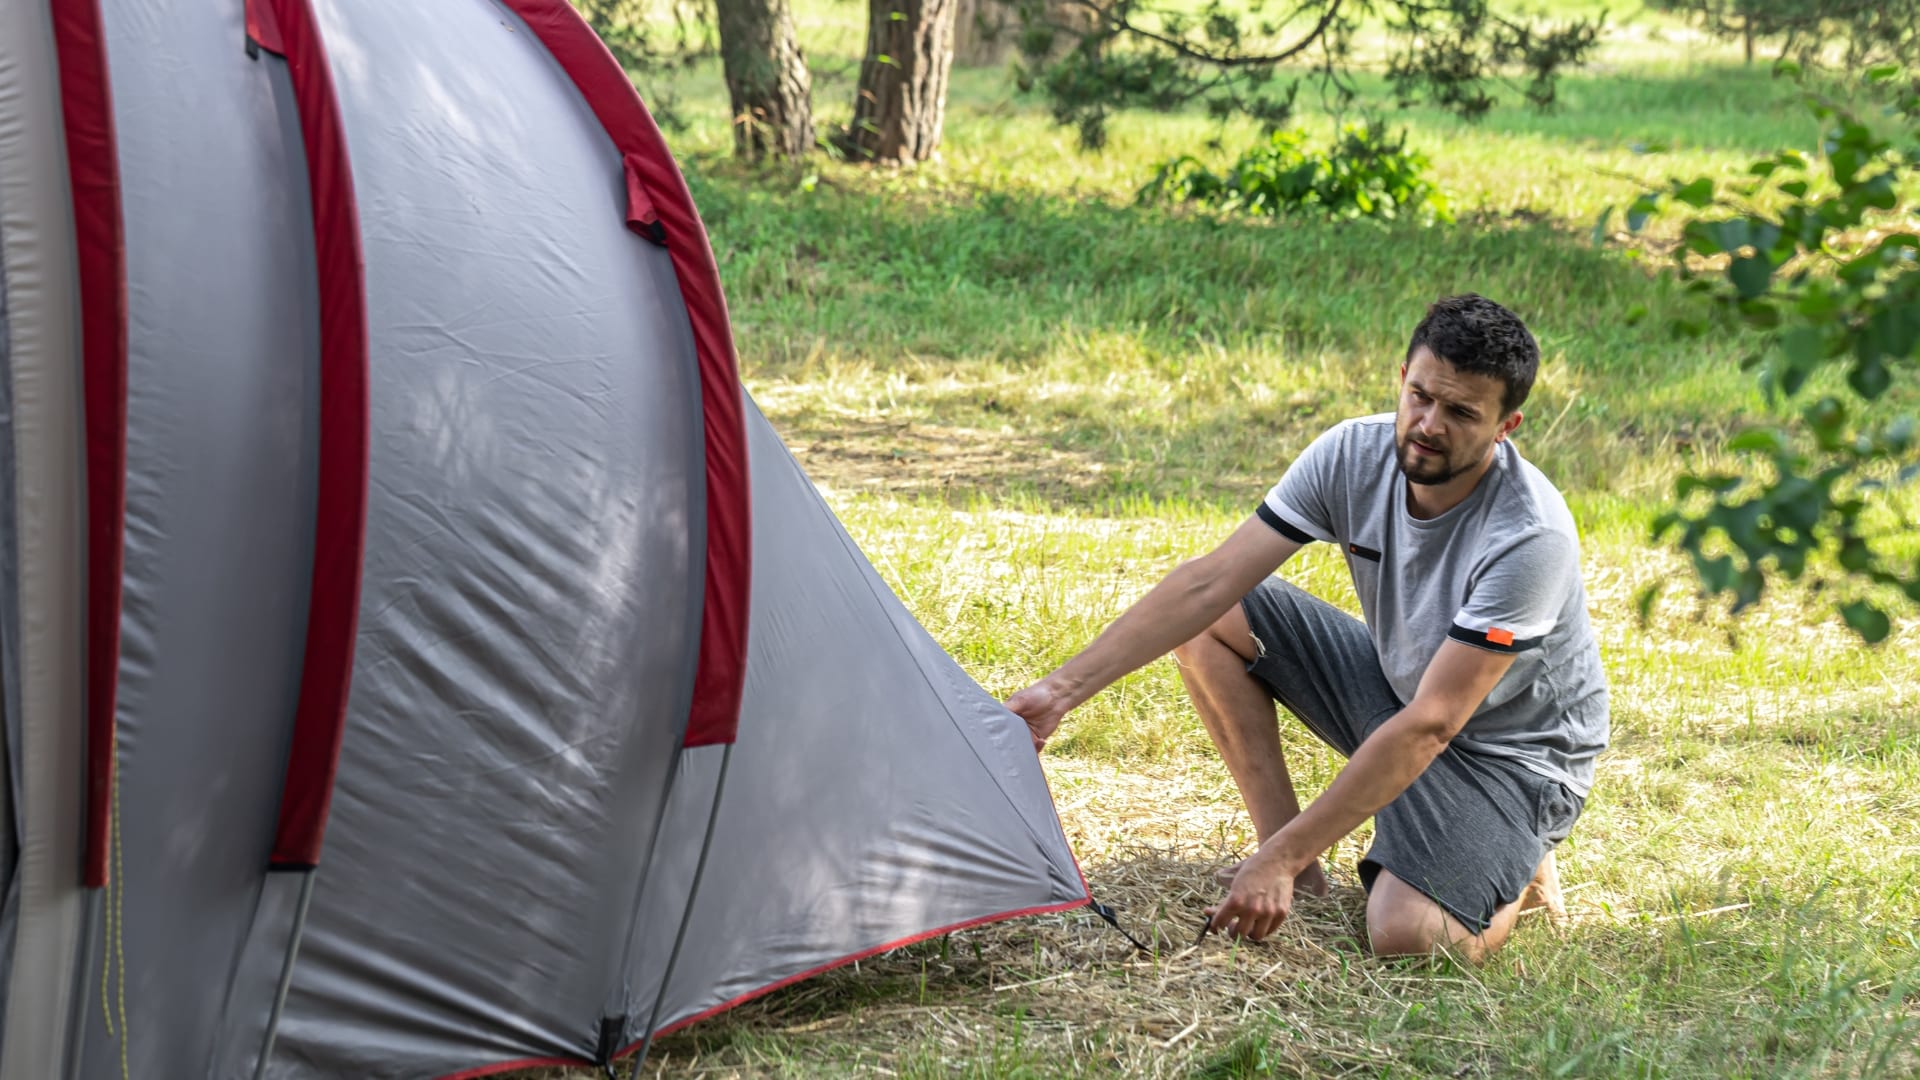
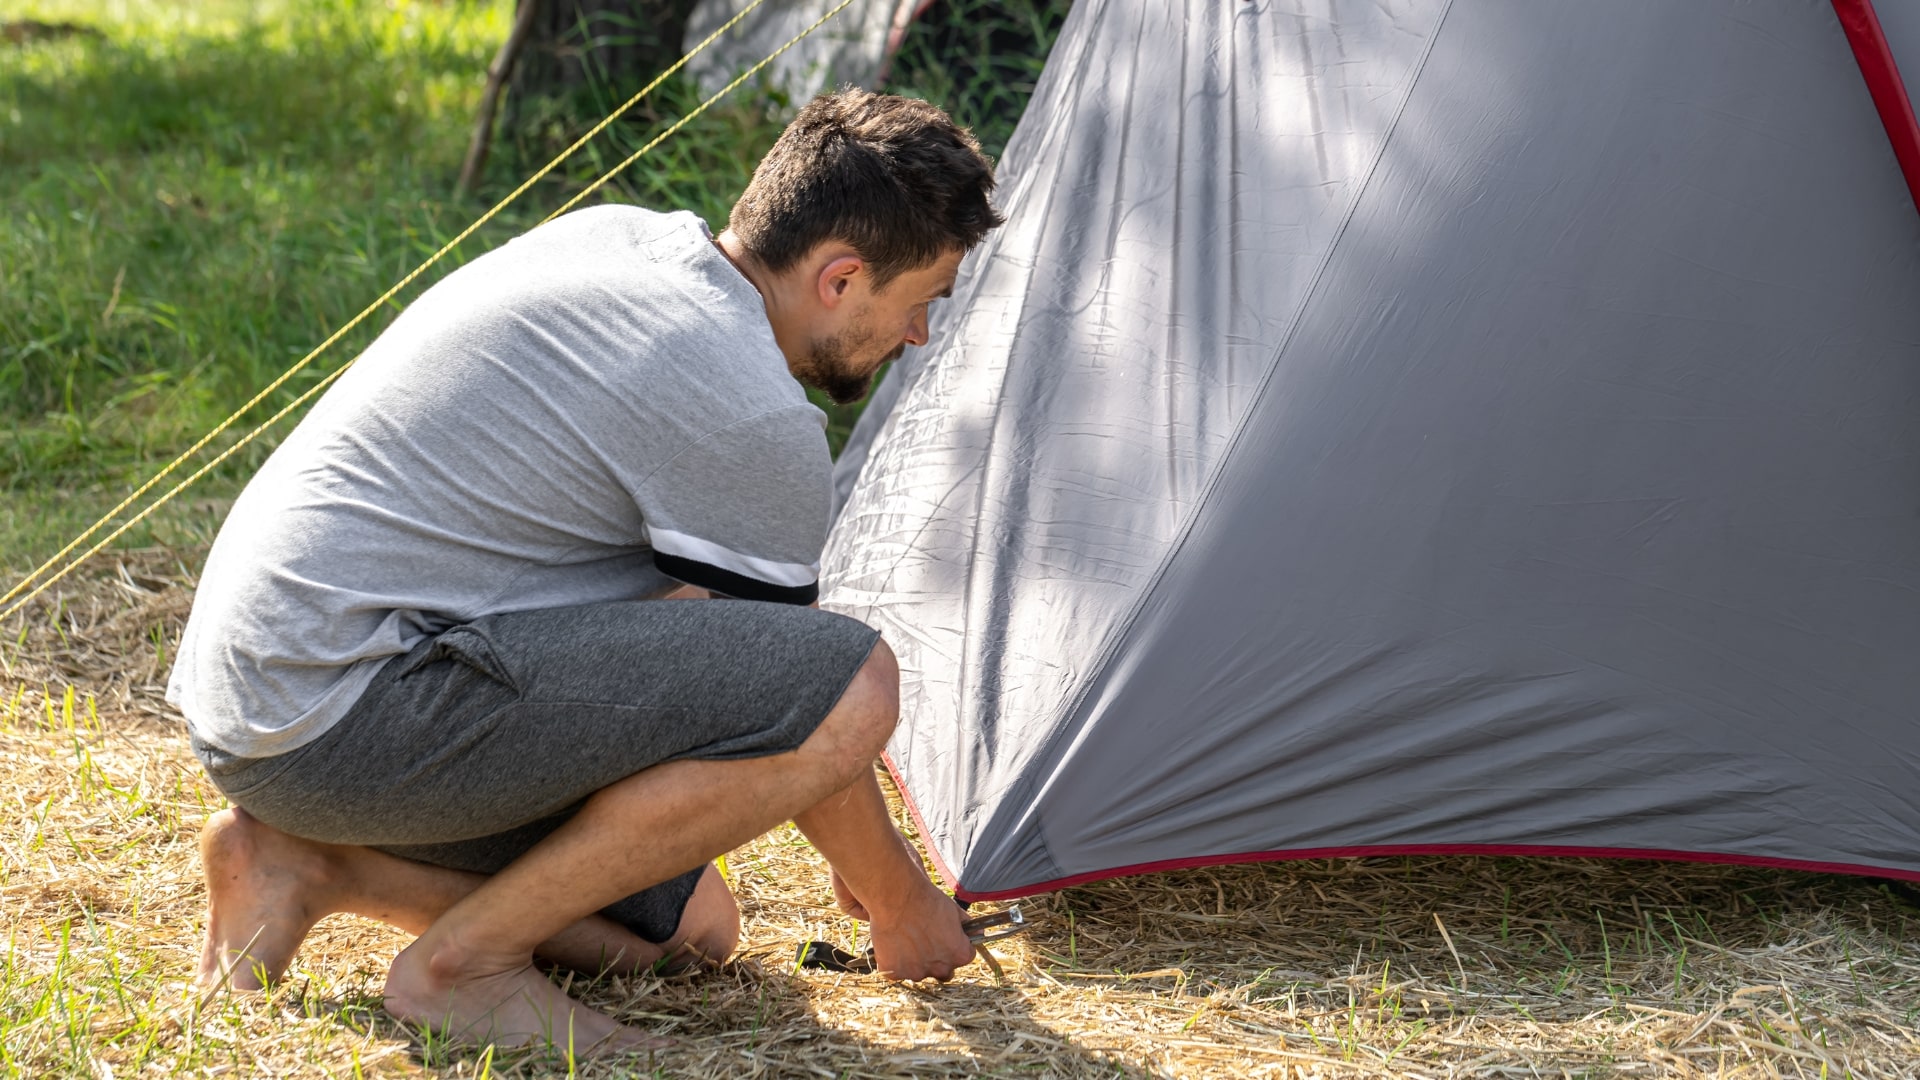
Securing the Tent
- Anchor with Stakes: Using a hammer or mallet, drive stakes through the tent’s loops or grommets at a 45-degree angle away from the tent. This angle increases wind resistance.
- Attach Guy Lines: Guy lines add stability in wind. Attach and tension them, staking them out around the tent. Ensure they are taut but not overly tight to avoid fabric damage.
Applying the Rainfly
- Position the Rainfly: Drape the rainfly over the tent, aligning it with the doors and windows.
- Secure Corners: Attach the corners of the rainfly to the tent or ground. Some models have clips that attach to the tent poles or stakes.
- Adjust for Ventilation: Ensure the rainfly is taut to prevent water accumulation but adjust to allow for airflow, reducing condensation inside the tent.
By following these steps, your tent will be well-equipped to handle the diverse climates and terrains of South Africa. Whether you’re setting up in the bushveld or along the coast, your tent is now a sturdy, reliable shelter for your outdoor adventures.
Advanced Tips and Tricks For Setting Up Your Camping Tent
Setting up your tent is just the beginning. To truly enjoy your camping experience in South Africa’s diverse environments, from the humid coastlines to the arid Karoo, you’ll need to master a few advanced techniques. These tips and tricks will help you weatherproof your setup, maximize space and comfort, and handle emergency repairs with ease.
Weatherproofing Your Setup
- Reinforce Against Wind: To protect your tent from strong winds, angle it with the narrower end facing the wind. Utilize all available guy lines, and consider adding extra stakes around the perimeter for increased stability.
- Enhance Rain Protection: Apply a waterproofing spray to the tent’s exterior and the rainfly before your trip, focusing on seams and potential leak points. For added protection, use a tarp above your tent as an additional barrier against heavy rain, ensuring it’s suspended and not touching the tent to maintain airflow.
- Secure the Rainfly: Ensure the rainfly is properly secured and stretched out. This prevents water from pooling and entering the tent. Adjust the rainfly periodically to maintain its tension, especially during prolonged rainfall.
Maximizing Space and Comfort
- Organize Your Interior: Use storage pockets available inside your tent to keep essentials within reach but out of the way. Consider a hanging shelf or organizer for more storage options without sacrificing floor space.
- Ventilation Strategies: Proper ventilation is key to preventing condensation inside your tent. Ensure that the tent’s ventilation openings are unobstructed, even when using the rainfly. If your tent has vents near the top, keep them open to allow warm, moist air to escape.
- Sleeping Arrangements: To maximize sleeping space, align sleeping bags or mats in a head-to-toe configuration. This arrangement makes the most efficient use of tent width and can help mitigate discomfort from fellow campers’ movements during the night.
Emergency Repairs
- Mend Tears Quickly: For tears in the tent fabric, use a repair tape or patch kit designed for the material. Clean the area around the tear, apply the adhesive, and press firmly. For a temporary fix, duct tape can hold until a more permanent repair is made.
- Fixing Broken Zippers: If a zipper gets stuck, gently use a pencil’s graphite tip to lubricate the teeth. For a zipper that separates, use a plier to gently squeeze the slider back into shape. Always have a spare zipper slider and a sewing kit in your repair kit for on-the-spot fixes.
- Pole Repairs: Carry a repair sleeve for tent poles. If a pole breaks, slide the sleeve over the break and tape it securely. This is a temporary solution that can save your trip until you can replace the pole.
Mastering these advanced tips and tricks will ensure that your camping experience in South Africa is not only enjoyable but also safe and comfortable, regardless of the weather conditions or unexpected challenges. With your tent setup and maintenance skills honed, you’re ready to fully immerse yourself in the natural beauty and adventure that camping in South Africa has to offer.
Maintenance and Storage
After returning from the wild landscapes of South Africa, the care you give your tent can significantly impact its longevity and performance for future adventures. Proper cleaning, drying, and storage are essential steps to ensure your tent remains in top condition.
- Cleaning: Begin by gently shaking out any dirt or debris from inside your tent. Use a soft sponge with mild soap and lukewarm water to clean the fabric’s surface lightly. Avoid harsh cleaning agents as they can damage the tent’s waterproof coating.
- Drying: Thoroughly air dry your tent before packing it away. Set it up outdoors or hang it in a well-ventilated area out of direct sunlight, as UV rays can weaken the fabric over time. Ensure every part, especially corners and folds, is completely dry to prevent mold and mildew growth.
- Loose Storage: Avoid storing your tent compressed in its original bag for extended periods. Instead, loosely fold or roll it and store it in a larger, breathable bag in a cool, dry place. This prevents creases and reduces tension on the fabric and seams.
- Keep it Cool: Store your tent in an environment-controlled area, avoiding places with high humidity or temperature fluctuations, which can degrade the material and coatings.
- Check Periodically: Even in storage, it’s a good idea to periodically check your tent for any signs of mold, mildew, or musty odors, addressing any issues promptly to prevent damage.
Conclusion
Throughout this guide, we’ve journeyed through the essential steps of preparing for your camping trip, selecting the right tent, mastering the setup process, implementing advanced tips for comfort and emergency repairs, and finally, ensuring proper post-trip maintenance and storage. Before heading out on your next camping expedition, we encourage you to practice setting up your tent at home. This rehearsal not only familiarizes you with your tent’s components and setup process but also gives you the opportunity to ensure everything is in working order and you’re prepared for the outdoors.